Workflows

Concepts
At its core, LittleHorse is a workflow engine. Workflows consist of two LittleHorse API Resources:
WfSpecs, or "Workflow Specifications", which are a blueprint for aWfRun. AWfSpecconsists of a series of steps (most often, Tasks) and defines the control flow for your worklfow runs.WfRuns, or "Workflow Runs", which are running instances of aWfSpec.
Before you can run a workflow (i.e. create a WfRun), you must first define the WfSpec.
The WfSpec
In LittleHorse, the WfSpec object is a Metadata Object defining the blueprint for a WfRun, which is a running instance of a workflow.
A WfSpec (Workflow Specification) is a blueprint that defines the control flow of your WfRuns (Workflow Run). Before you can run a WfRun, you must first register a WfSpec in LittleHorse (for an example of how to do that, see here).
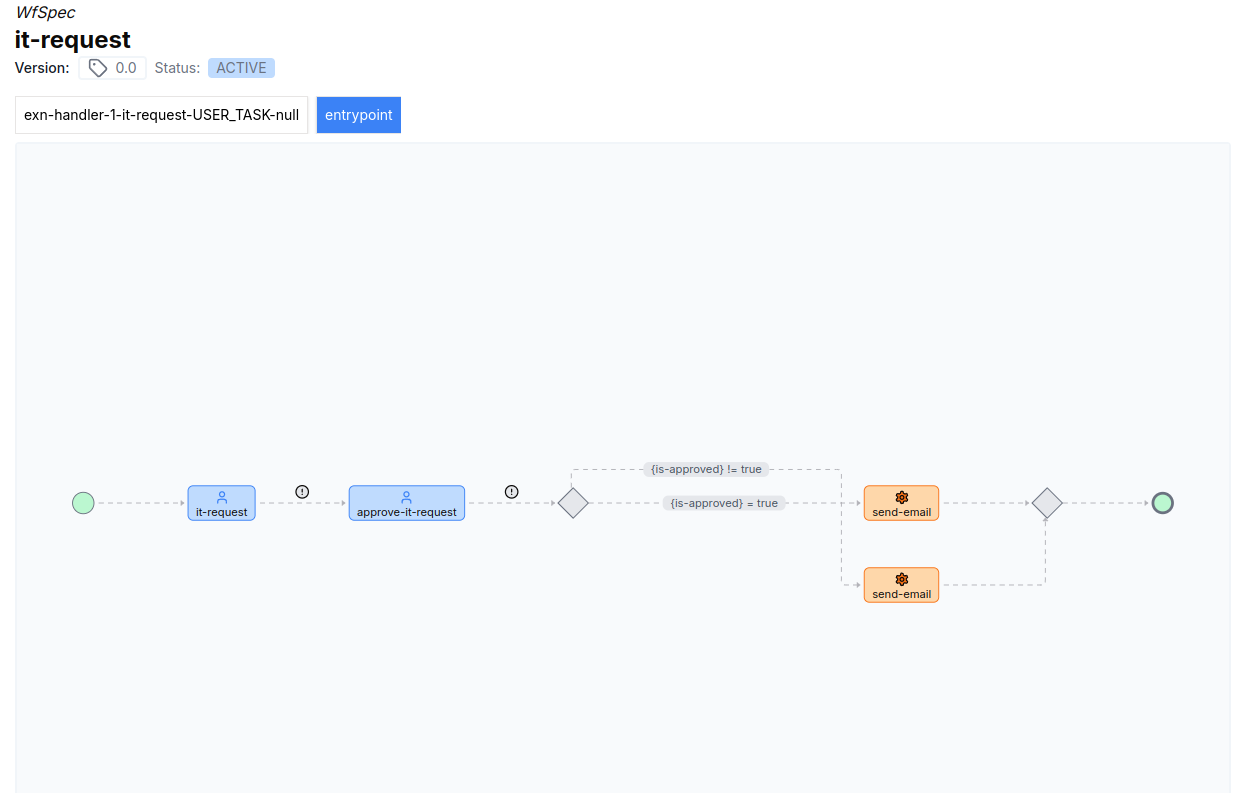
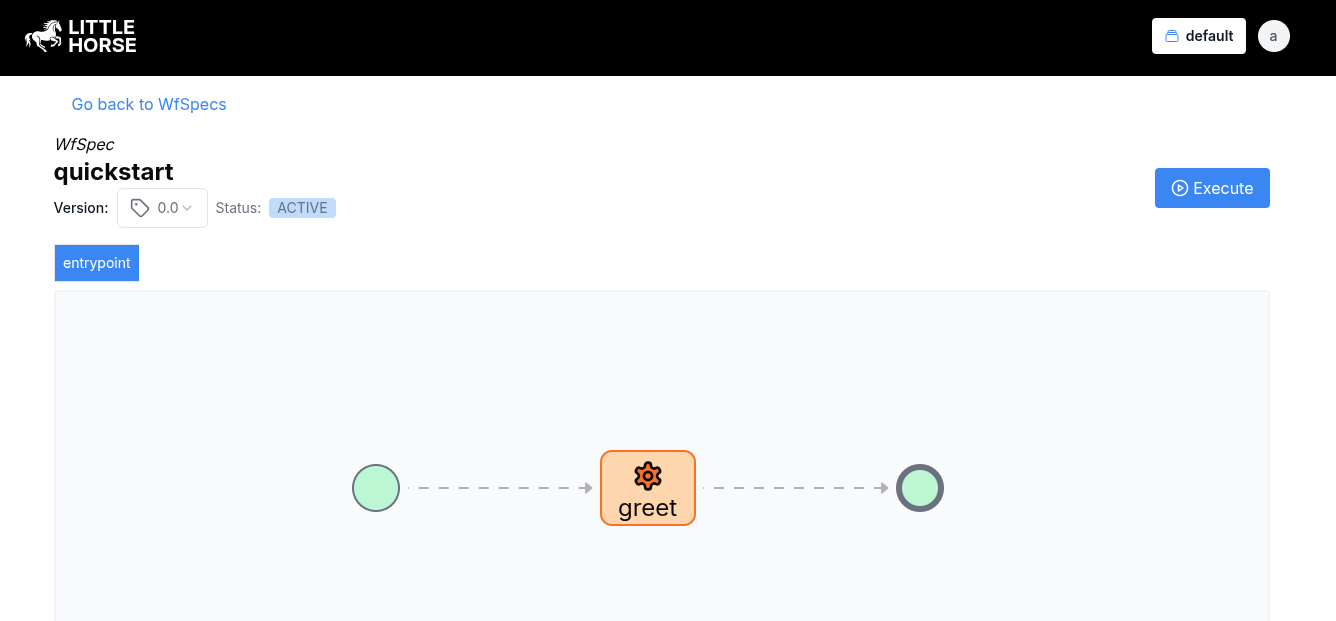
Under the hood, a WfSpec is a directed graph consisting of Nodes and Edges, where a Node defines a "step" of the workflow process, and an Edge tells the workflow what Node to go to next. You can see the control flow specified by this directed graph in the LittleHorse dashboard.
The WfRun
A WfRun is a LittleHorse API Object that represents a running instance of a WfSpec. Each WfRun is uniquely identified by a WfRunId, which you can pass to the LittleHorse Kernel when running the WfSpec or which can be autogenerated for you by the LittleHorse Kernel.
The WfRun follows the logic defined in the WfSpec and results in TaskRuns, UserTaskRuns, and other LittleHorse API Objects being created throughout its lifecycle.
In Practice
If you want to follow along, all of the code snippets in this section can be copy-n-pasted and executed as standalone files. However, to do this, you'll need access to a LittleHorse Kernel and lhctl. You can do that via the instructions in our installation docs or by running the following commands:
brew install littlehorse-enterprises/lh/lhctldocker run --rm -d --name littlehorse --pull always -p 2023:2023 -p 8080:8080 ghcr.io/littlehorse-enterprises/littlehorse/lh-standalone:latest
To run a workflow, you need to do the following:
- Register any
TaskDefs,ExternalEventDefs,UserTaskDefs, orWorkflowEventDefs used by yourWfSpec. - Define and register your
WfSpec. - Run the
WfSpec(thereby creating aWfRun).
In this example we will run a simple "hello world" workflow which simply executes one task, the greet task.
Register the TaskDef
Let's create a greet Task Worker. This "hello-world" task accepts a name (of type String) and returns another String which is a customized greeting.
- Java
- Python
- Go
- C#
package io.littlehorse.quickstart;

import io.littlehorse.sdk.common.config.LHConfig;
import io.littlehorse.sdk.worker.LHTaskMethod;
import io.littlehorse.sdk.worker.LHTaskWorker;

class Greeter {
    @LHTaskMethod("greet")
    public String greeting(String name) {
        String result = "Hello " + name + "!";
        System.out.println(result);
        return result;
    }
}

public class Main {

    public static void main(String[] args) {
        LHConfig config = new LHConfig();

        Greeter greeter = new Greeter();

        // Create a Task Worker
        LHTaskWorker worker = new LHTaskWorker(greeter, "greet", config);
        Runtime.getRuntime().addShutdownHook(new Thread(worker::close));

        // Register the TaskDef
        worker.registerTaskDef();

        // Start the Worker
        worker.start();
    }
}
import littlehorse
from littlehorse import create_task_def
from littlehorse.worker import LHTaskWorker
from littlehorse.config import LHConfig

import asyncio

config = LHConfig()

#define the task method
async def greet(name: str) -> str:

  result = "Hello there " + name + "!"
  print(result)
  return result

async def main():
#create a task worker
if **name** == "**main**":
#register the task def with the littlehorse server
create_task_def(greet, "greet", config)
asyncio.run(main())
import (
  "fmt"
  "github.com/littlehorse-enterprises/littlehorse/sdk-go/littlehorse"
)
func Greet(name string) string {
  result := "Hello there, " + name + "!"
  fmt.Println(result)
  return result
}

func main() {
  config := littlehorse.NewConfigFromEnv()
  worker, _ := littlehorse.NewTaskWorker(config, Greet, "greet")

  //Register TaskDef
  worker.RegisterTaskDef()

  //Start Task Worker
  worker.Start()
}
using LittleHorse.Sdk;
using LittleHorse.Sdk.Worker;

class Greeter
{
    [LHTaskMethod("greet")]
    public string Greeting(string name)
    {
        string result = $"Hello {name}!";
        Console.WriteLine(result);
        return result;
    }
}

public abstract class Program
{
    static void Main(string[] args)
    {
        var config = new LHConfig();

        // Create a Task Worker
        var greeter = new Greeter();
        LHTaskWorker<Greeter> worker = new LHTaskWorker<Greeter>(greeter, "greet", config);

        // Register the TaskDef
        worker.RegisterTaskDef();

        // Start the Worker
        worker.Start();
    }
}
Register the WfSpec
Now that the Task Worker is running, we can create a WfSpec using the LittleHorse workflow DSL. As a simple "getting started" workflow, we will build a simple "hello-world" WfSpec that takes in a String (name) and passes it into our greet task. If you continue reading the Concepts section, we will get to more advanced and more useful workflow logic; however, this example will help you get started.
- Java
- Python
- Go
- C#
In Java, we use the Workflow.newWorkflow() method to create a Workflow object. The newWorkflow() method accepts a lambda function that defines the actual WfSpec logic. Then, we can use the Workflow object to register the WfSpec to the LittleHorse Kernel.
package io.littlehorse.quickstart;

import io.littlehorse.sdk.common.config.LHConfig;
import io.littlehorse.sdk.wfsdk.WfRunVariable;
import io.littlehorse.sdk.wfsdk.Workflow;

public class Main {
  public static final String WF_NAME = "quickstart";

  public static void main(String[] args) {
      LHConfig config = new LHConfig();

      Workflow workflowGenerator = Workflow.newWorkflow(WF_NAME, wf -> {
          WfRunVariable name = wf.declareStr("name").searchable().required();
          wf.execute("greet", name);
      });

      workflowGenerator.registerWfSpec(config.getBlockingStub());
  }
}
import asyncio
from littlehorse.workflow import Workflow, WorkflowThread
from littlehorse import create_workflow_spec
from littlehorse.config import LHConfig

config = LHConfig()

def get_workflow() -> Workflow:

  def quickstart_workflow(wf: WorkflowThread) -> None:

      name = wf.declare_str("name").searchable()

      wf.execute("greet", name)

  return Workflow("quickstart", quickstart_workflow)

async def main():
print("Registering WfSpec")

  create_workflow_spec(get_workflow(), config)

if **name** == "**main**":
asyncio.run(main())
import (
  "context"
  "github.com/littlehorse-enterprises/littlehorse/sdk-go/littlehorse"
)
func QuickStart(wf *littlehorse.WorkflowThread){
  name := wf.DeclareStr("name").Searchable()
  wf.Execute("greet", name )
}
func main() {
  // Get a client
  config := littlehorse.NewConfigFromEnv()
  client, _ := config.GetGrpcClient()

  workflowGenerator := littlehorse.NewWorkflow(QuickStart, "quickstart")

  request, err := workflowGenerator.Compile()
  if err != nil {
    log.Fatal(err)
  }

  (*client).PutWfSpec(context.Background(), request)
}
using LittleHorse.Sdk;
using LittleHorse.Sdk.Workflow.Spec;

namespace Quickstart;

public abstract class Program
{
  public static string WfName = "quickstart";
  static void Main(string[] args)
  {
      var config = new LHConfig();

      Workflow workflowGenerator = new Workflow(WfName, (WorkflowThread wf) =>
      {
          WfRunVariable name = wf.DeclareStr("name").Searchable().Required();
          wf.Execute("greet", name);
      });

      workflowGenerator.RegisterWfSpec(config.GetGrpcClientInstance());
  }
}
After running the above code, you should be able to see your WfSpec in the LittleHorse Dashboard:

For more information about how to develop complex WfSpecs, continue reading in the Concepts section or skip ahead to the WfSpec Development Guide.
Run the WfSpec
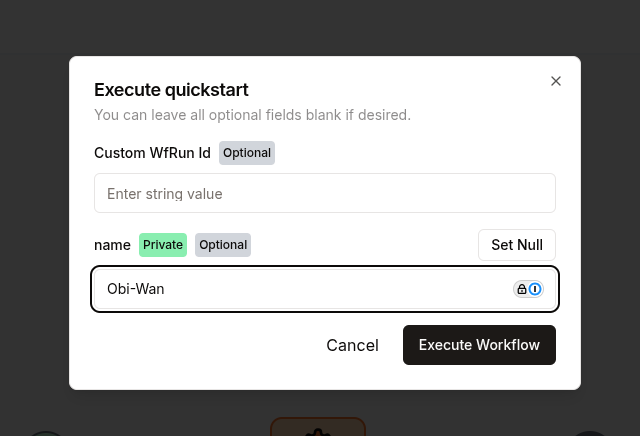
You can run the WfSpec and create a WfRun by using the LittleHorse dashboard. Navigate to the WfSpec page, click Execute, and pass in a value for the name variable.

Alternatively, you can run the WfSpec by using lhctl and provide the name variable as follows:
lhctl run quickstart name Obi-Wan
Click around the dashboard, click on the nodes, and see what happened!
Further Resources
This workflow barely scratches the surface of what LittleHorse is capable of. To dig further, check out the following:
- Our
WfSpecDevelopment Guide. - Our Quickstarts.
- How to Run a
WfRunprogrammatically rather than through the dashboard. - Continue reading to learn about further concepts available in LittleHorse workflows.