Quickstart
In this lesson, we'll get you started playing around with LittleHorse in a local development environment as quickly as possible.
System Setup
For this tutorial, your system will need:
as well as the language of your choice:
- Java
- Python
- Go
- C#
Java 11 or greater
Python 3.9 or greater
Go 1.21.3 or greater
.NET 8.0 or greater
First, we will run a LittleHorse Server and dashboard for development purposes in dashboard (using the lh-standalone docker image):
Make sure you have at least 2GB of RAM allocated to Docker and ports 2023 and 8080 must be free.
docker run --pull always --name lh-standalone --rm -d -p 2023:2023 -p 8080:8080 ghcr.io/littlehorse-enterprises/littlehorse/lh-standalone:latest
While the image is downloading, you can install our CLI tool, lhctl this CLI is used to interact with the LittleHorse server:
brew install littlehorse-enterprises/lh/lhctl
Once the docker image is running and initialized, you should be able to verify connectivity with the lhctl whoami command, as follows:
>lhctl whoami
{
  "id":  {
    "id":  "anonymous"
  },
  "createdAt":  "2024-12-17T00:12:10.693Z",
  "perTenantAcls":  {},
  "globalAcls":  {
    "acls":  [
      {
        "resources":  [
          "ACL_ALL_RESOURCES"
        ],
        "allowedActions":  [
          "ALL_ACTIONS"
        ],
        "name":  ""
      }
    ]
  }
}
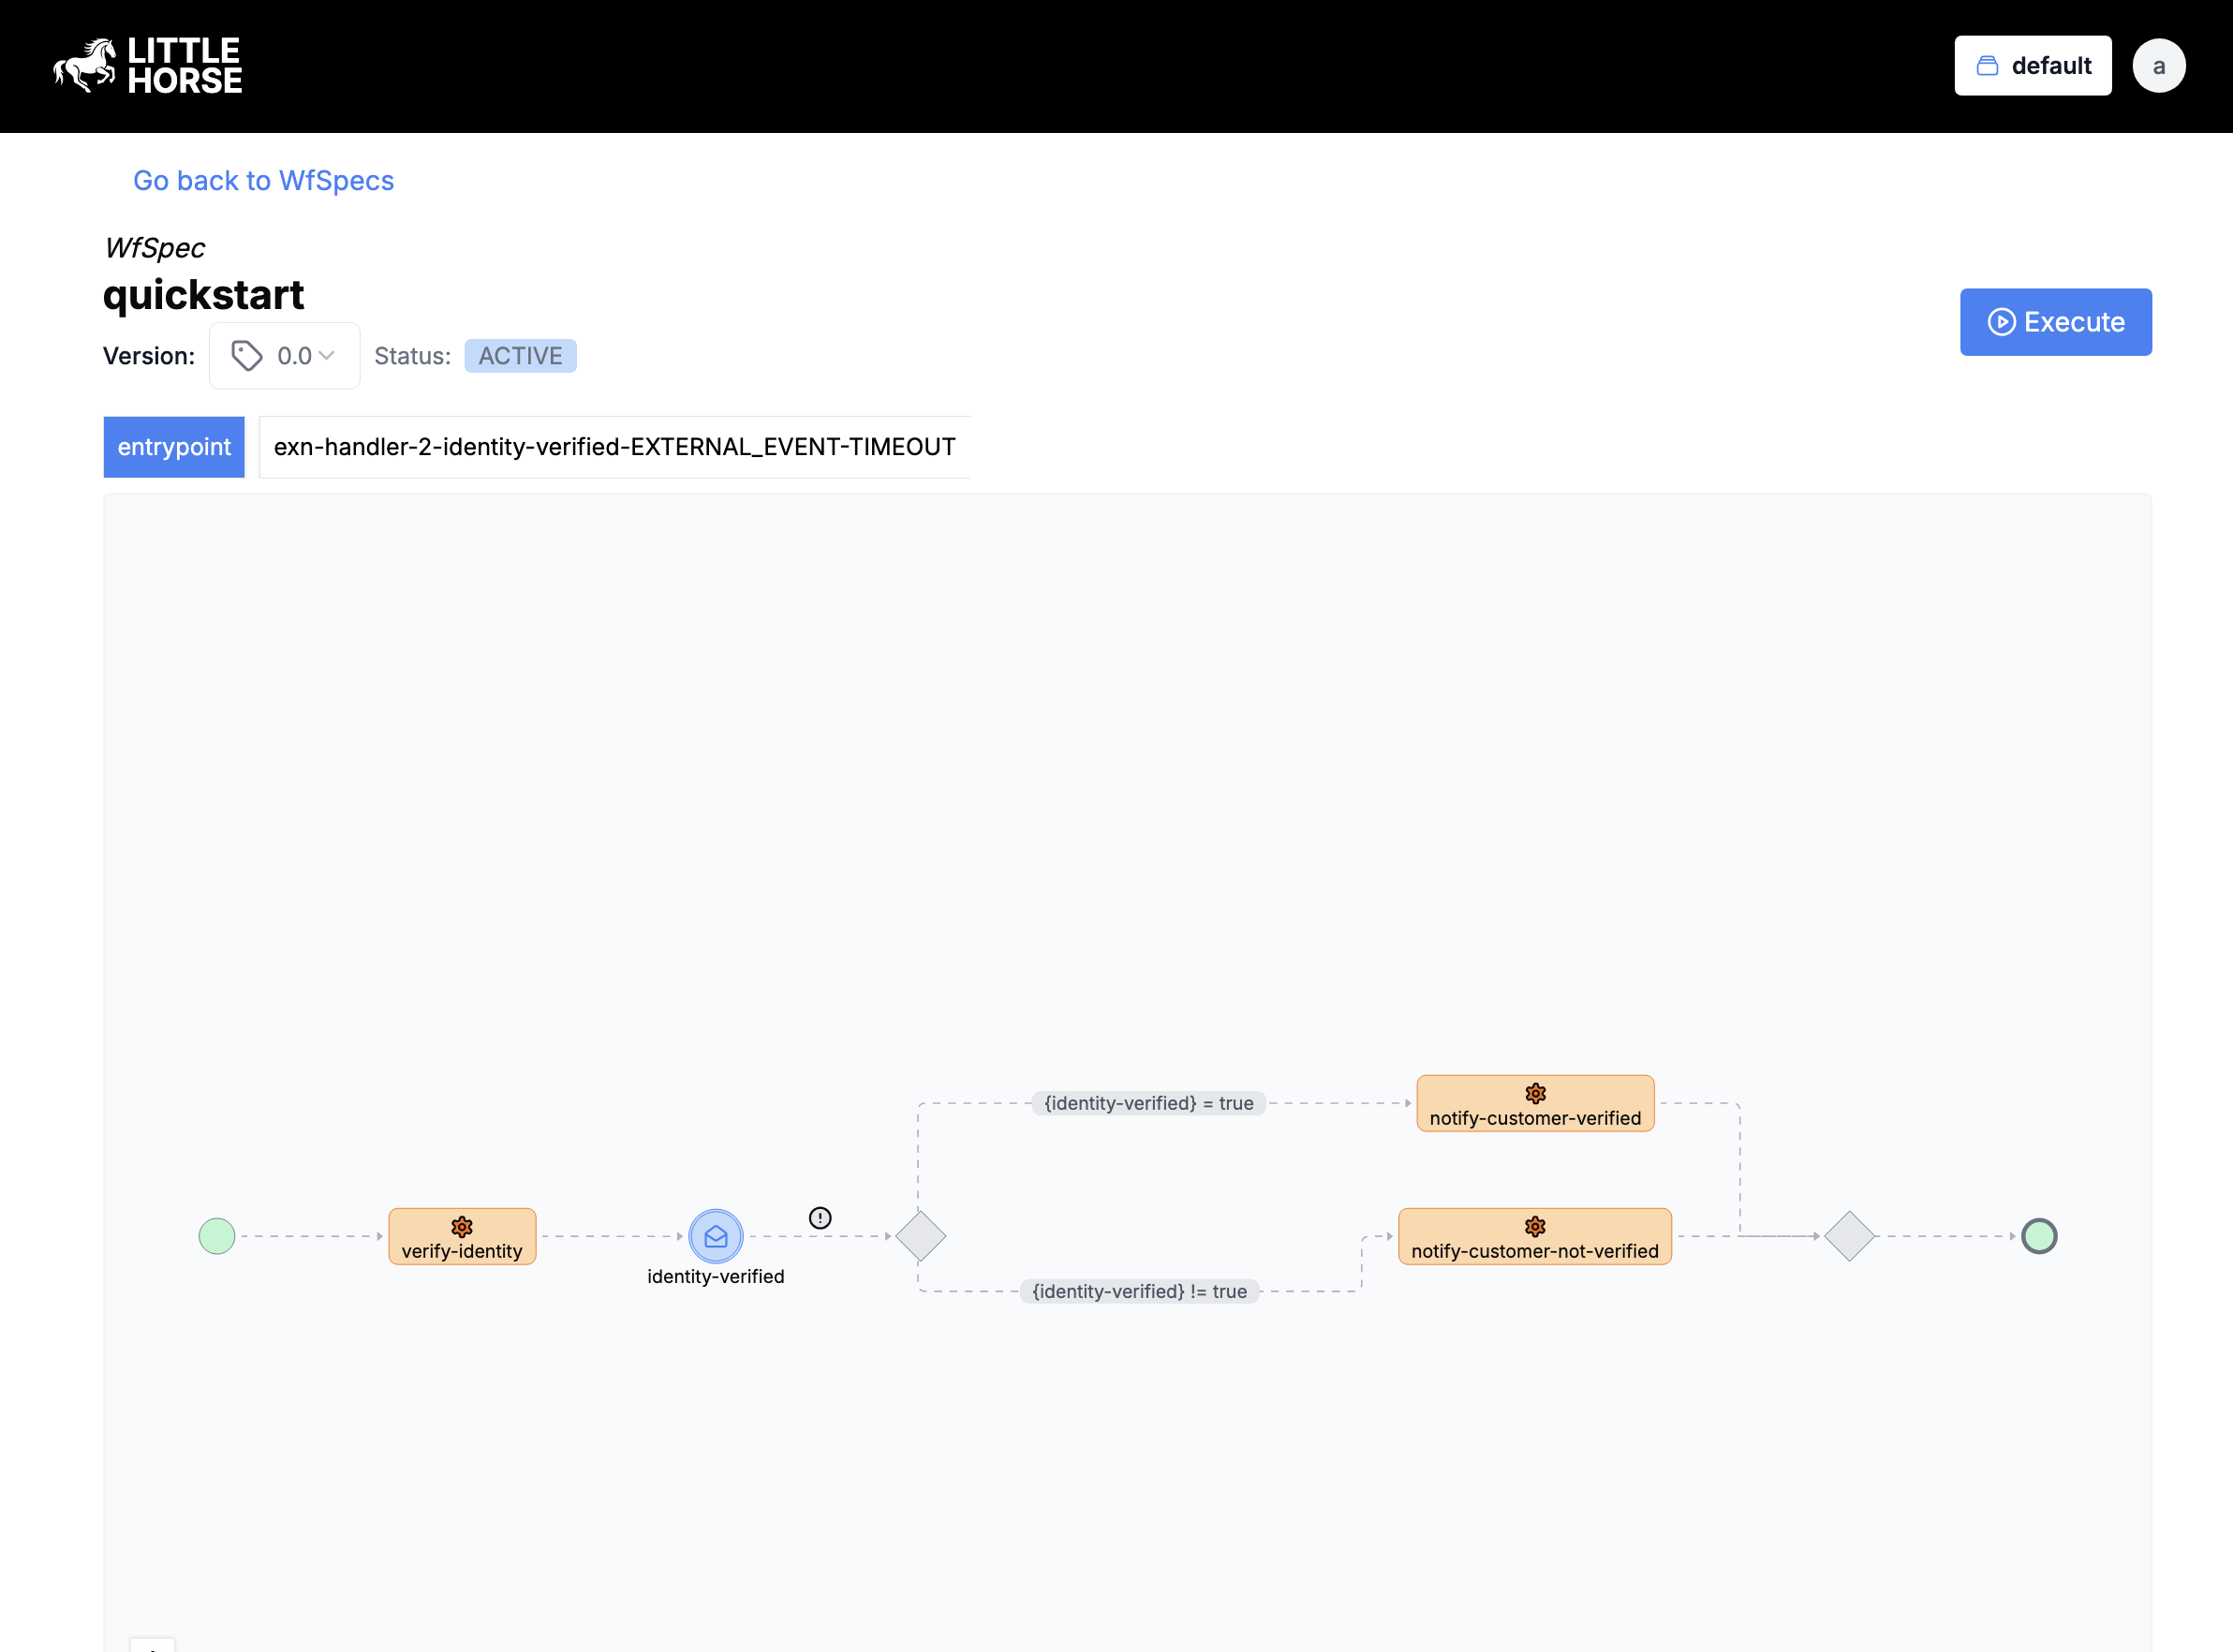
Lastly, you should be able to see the dashboard on http://localhost:8080:
Once you have verified that you have connectivity with the lhctl command, the rest of this tutorial will assume that you have a running LittleHorse server and dashboard.
Running the Quickstart
In this course, we will run through the quickstart at a high level. In the following lessons we will recreate the entire quickstart from scratch.
We will now follow along with our Quickstart for the language of your choice. Clone the quickstart repository and navigate into it:
- Java
- Python
- Go
git clone https://github.com/littlehorse-enterprises/lh-quickstart-java.git
cd lh-quickstart-java
The repository contains three main files:
Main.java: This file is the executable entrypoint. This file registers the Workflow Specification (WfSpec), Task Definition (TaskDef), External Event Definition (ExternalEventDef), and runs the task worker.QuickstartWorkflow.java: Contains Java code defining theWfSpecusing the LittleHorse SDK.KnowYourCustomerTasks.java: Contains the plain old Java for our task workers.
We will explore the code in more detail in the following lessons.
git clone https://github.com/littlehorse-enterprises/lh-quickstart-python.git
cd lh-quickstart-python
The repository contains 2 main files:
register.py: Contains Python code defining theWfSpecusing the LittleHorse SDK and registers all the metadata.workers.py: Contains plain old Python for our task workers.
We will explore the code in more detail in the following lessons.
git clone https://github.com/littlehorse-enterprises/lh-quickstart-go.git
cd lh-quickstart-go
The repository contains 3 main files:
main.go: This file is the executable entrypoint. This file registers the Workflow Specification (WfSpec), Task Definition (TaskDef), External Event Definition (ExternalEventDef), and runs the task worker.quickstart_workflow.go: Contains Go code defining theWfSpecusing the LittleHorse SDK.know_your_customer_tasks.go: Contains the plain old Go for our task workers.
We will explore the code in more detail in the following lessons.
Registering a WfSpec
A Workflow Specification, or WfSpec, is metadata representing a series of steps to be executed when we execute a WfRun. You can think of a WfSpec as a blueprint for a business process.
We need to first register the WfSpec and TaskDef so that LittleHorse knows what to do when we tell it to execute a quickstart WfRun.
To register the WfSpec, you can run:
- Java
- Python
- Go
./gradlew run --args register
python -m quickstart.register
go run ./src register
This command will do 3 things:
- Create an
ExternalEventDefcalledidentity_verified. - Create 3
TaskDefs calledverify_identity,notify_customer_verified, andnotify_customer_not_verified. - Create a
WfSpeccalledquickstart.

This workflow accepts 2 STR variables first-name and last-name and 1 MASKED INT variable ssn.
The next lessons will explain how to write a Task Worker and define a WfSpec. Patience, young Padawan.
Executing a WfRun
Now that we have registered the WfSpec and TaskDef, we need to tell LittleHorse to execute a WfRun. We can do that in three ways:
- Using the
lhctl runcommand. - Using our GPRC Client.
- Using the dashboard.
In this tutorial, we will use the lhctl run command to execute the WfSpec for simplicity. In Executing A WfRun, we will explore how to execute WfSpecs using the gRPC Clients and the dashboard.
Let's execute a WfRun:
lhctl run quickstart first-name Obi-Wan last-name Kenobi ssn 123456789
This does two things. lhctl tells LittleHorse server to execute the quickstart WfSpec. The command also passes the first-name, last-name, and ssn arguments with the values of Obi-Wan, Kenobi, and 123456789 respectively.

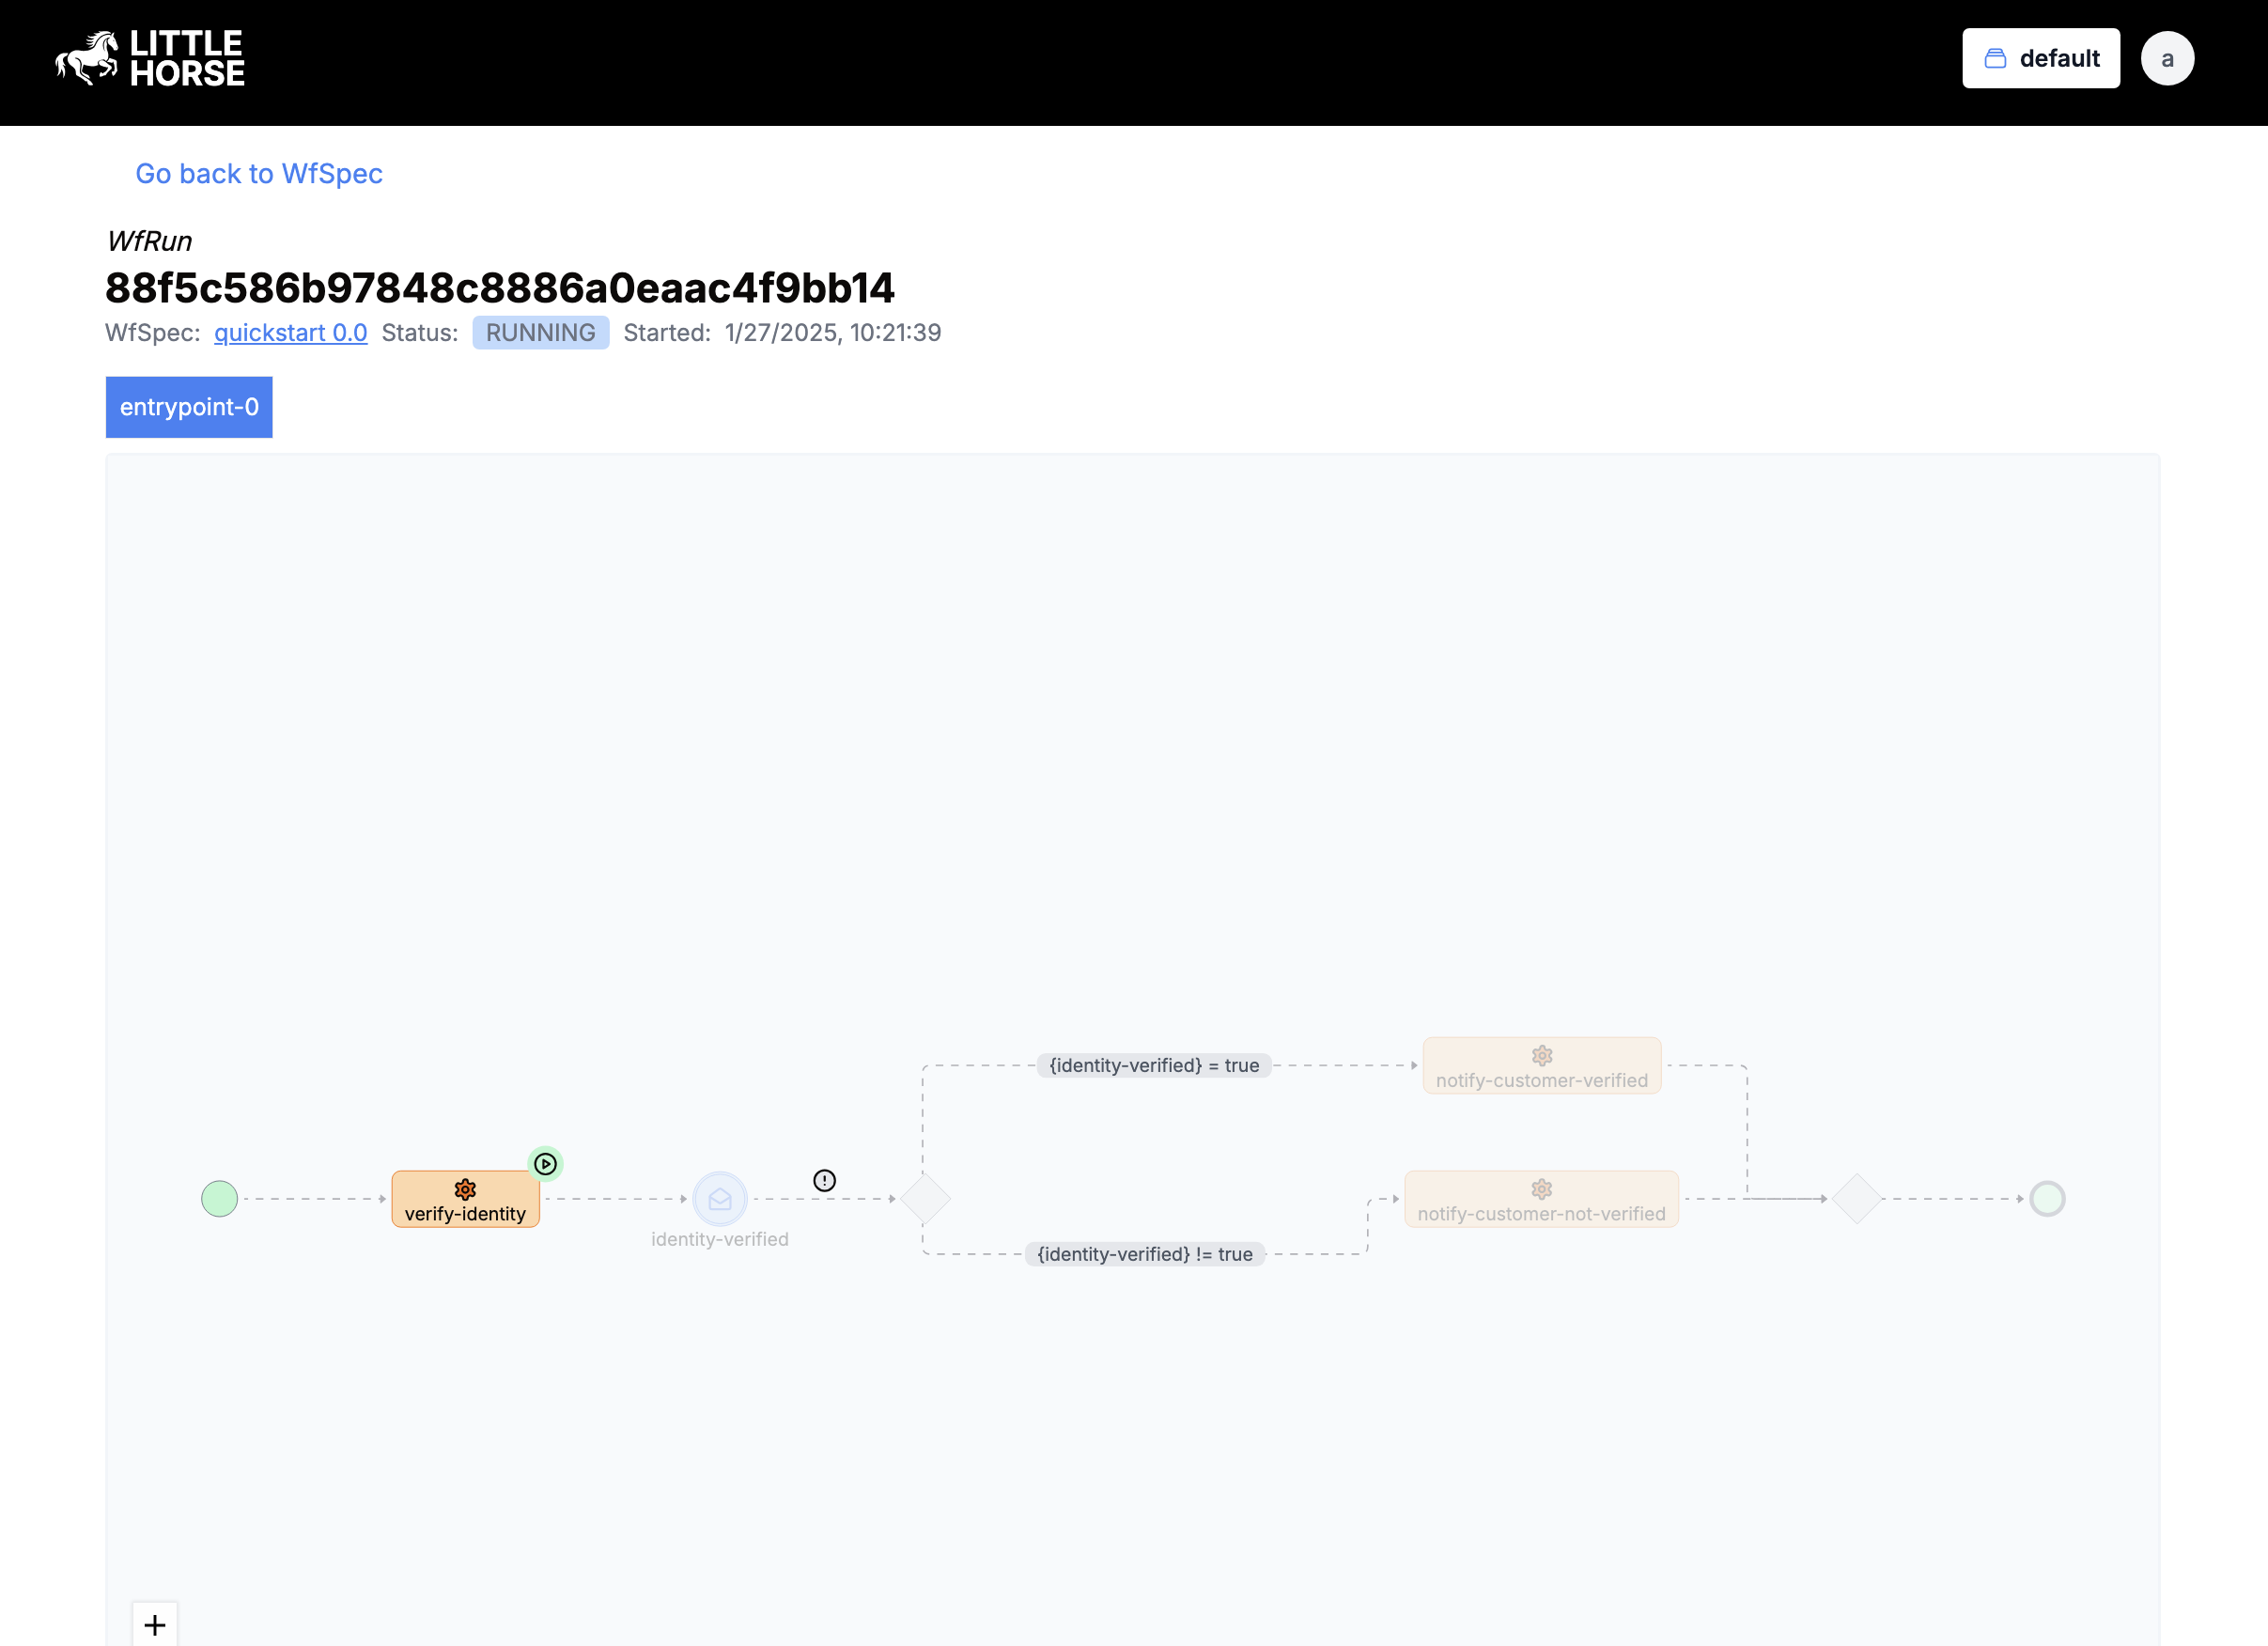
As you can see, the WfRun is in the RUNNING state, and the TaskRun is in the TASK_SCHEDULED state.
Running the Task Workers
Why is our WfRun "stuck"? Because no task worker is there to execute the verify_identity TaskRun that is currently in LittleHorse's Task Queue! Let's fix that by starting our Task Worker:
The quickstart has been configured for this task to fail 25% of the time to demonstrate LittleHorse's ability to handle retries and failures.
- Java
- Python
- Go
./gradlew run --args workers
python -m quickstart.workers
go run ./src workers

Posting an Event
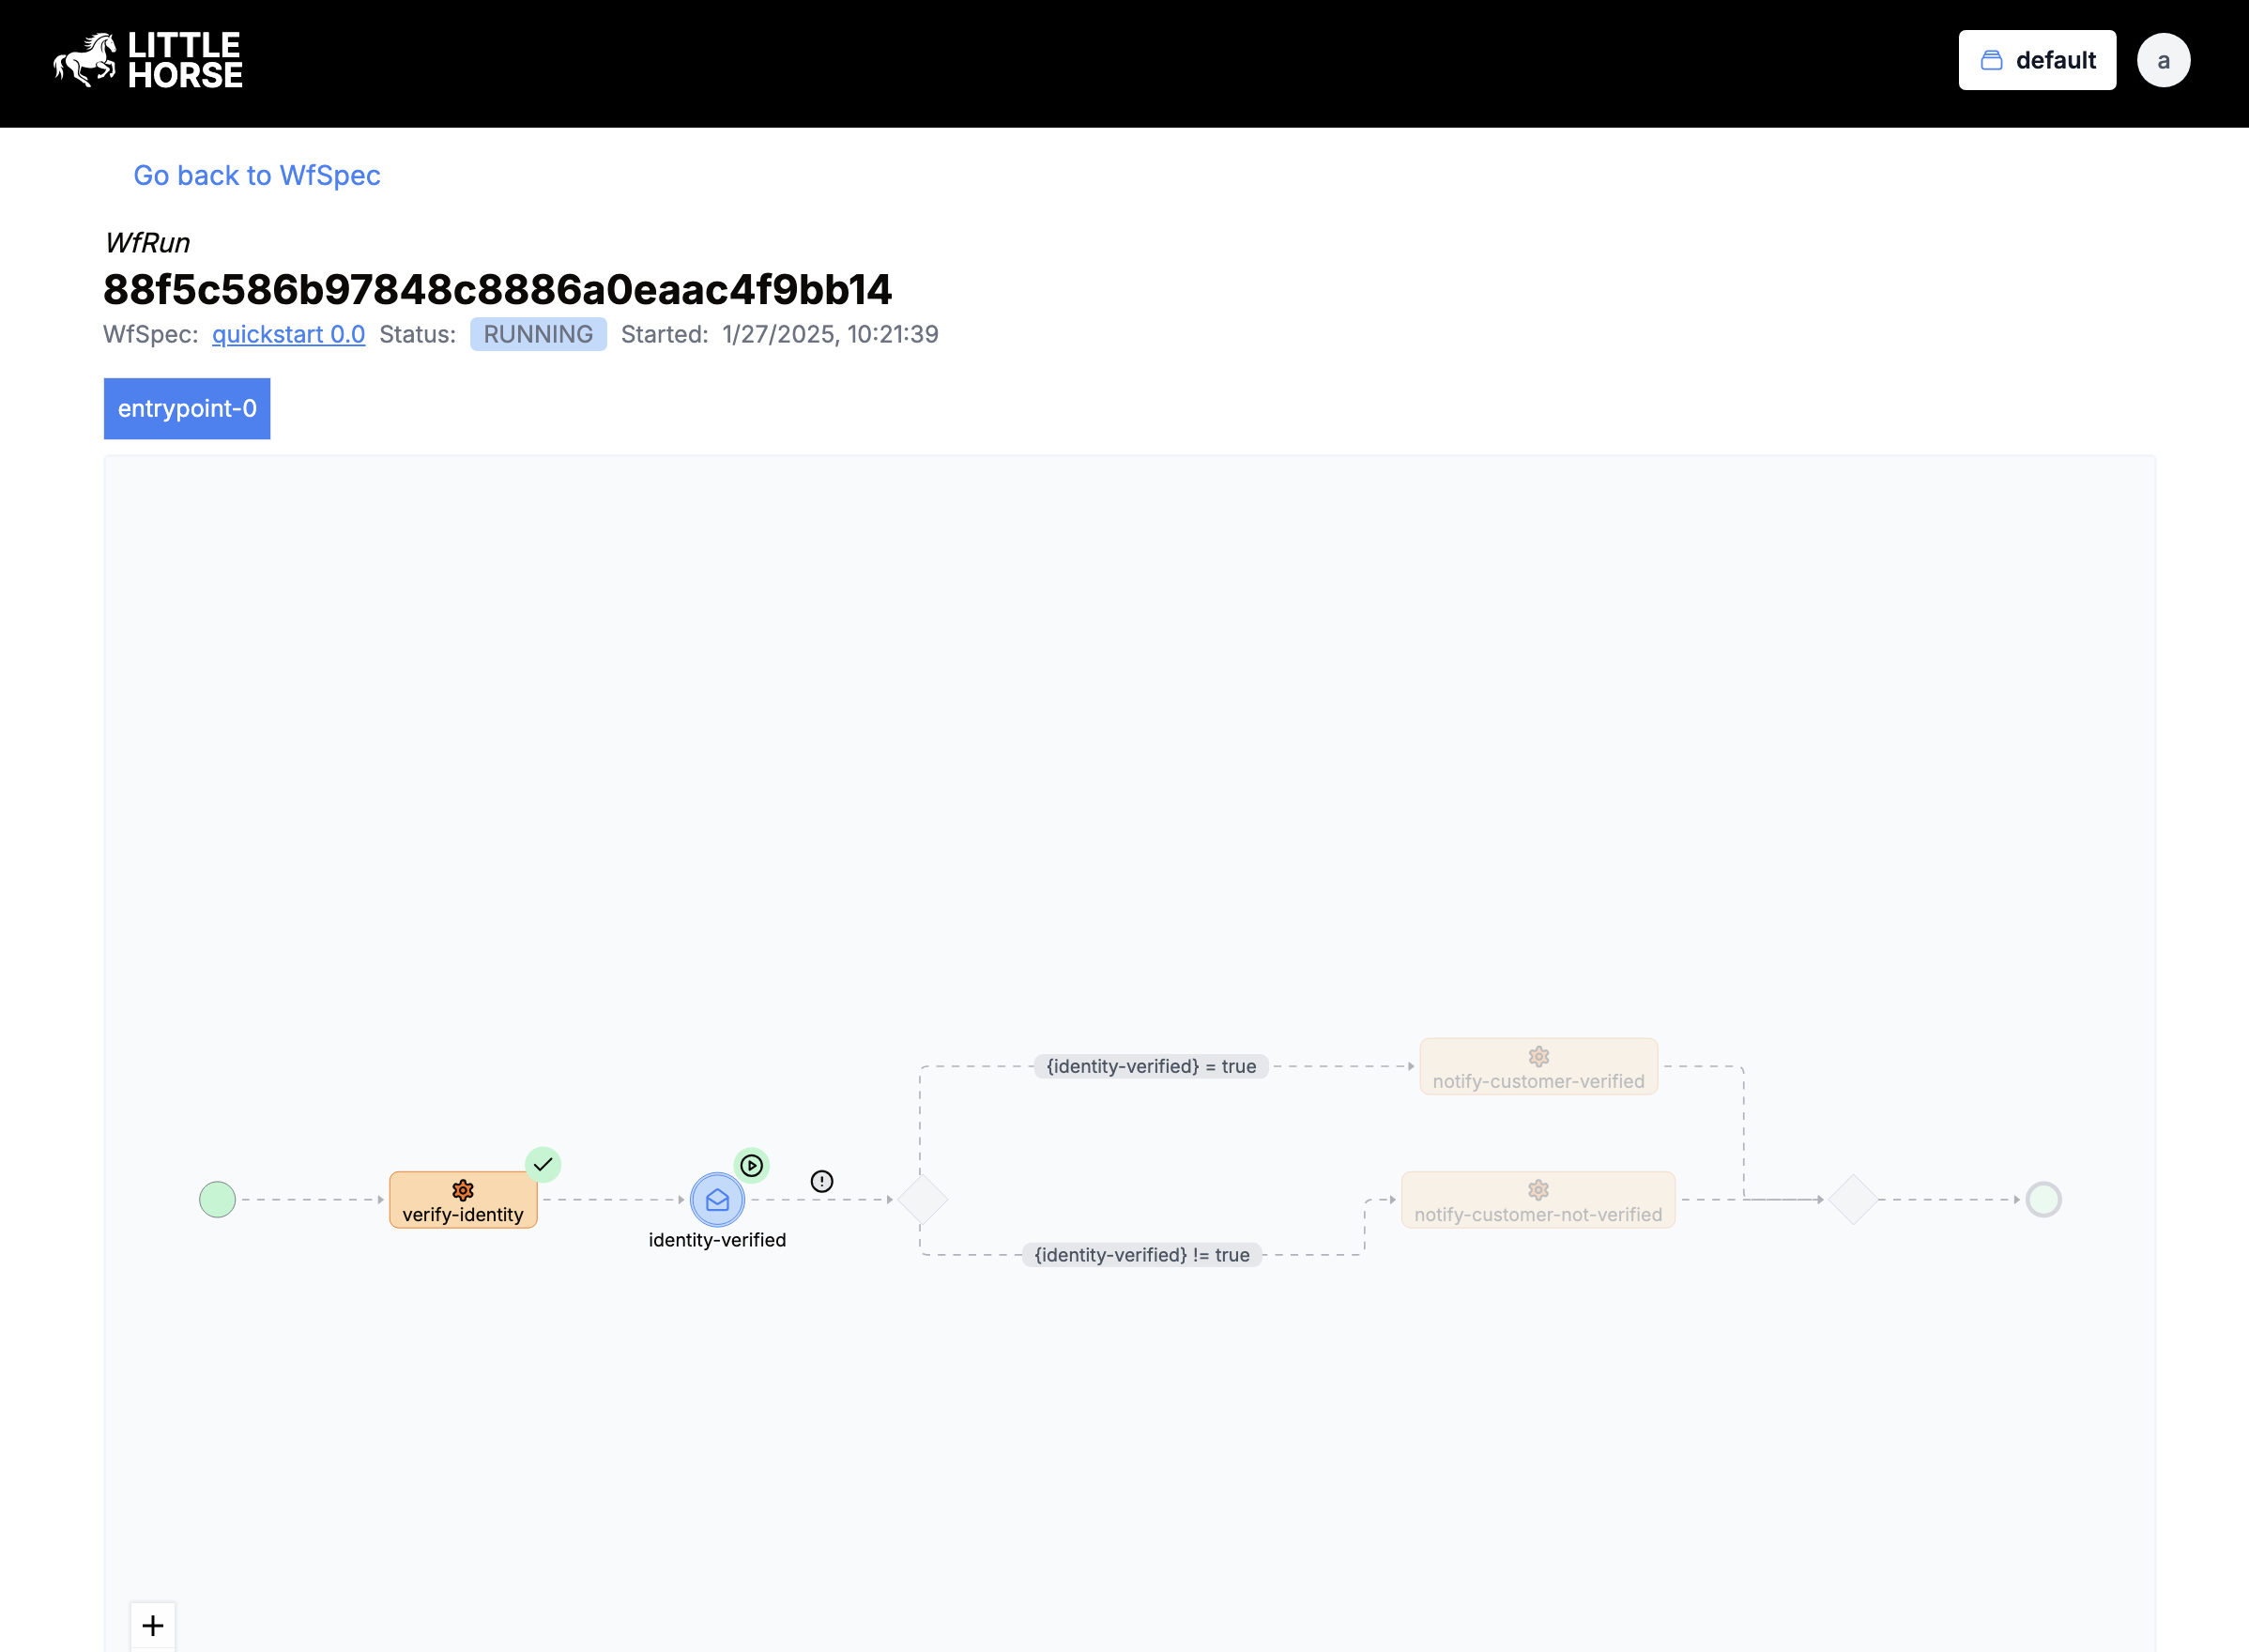
You will notice that the verify-identity task completed successfully but, the workflow is still in the RUNNING state. This is because the workflow is waiting for an external event identity-verified to be posted to the workflow.
Normally in a real-world application, you would have some other service that would post an event to the workflow with webhooks. For this example, we will just use the lhctl command to post an event to the workflow.
lhctl postEvent <wf_run_id> identity_verified BOOL true
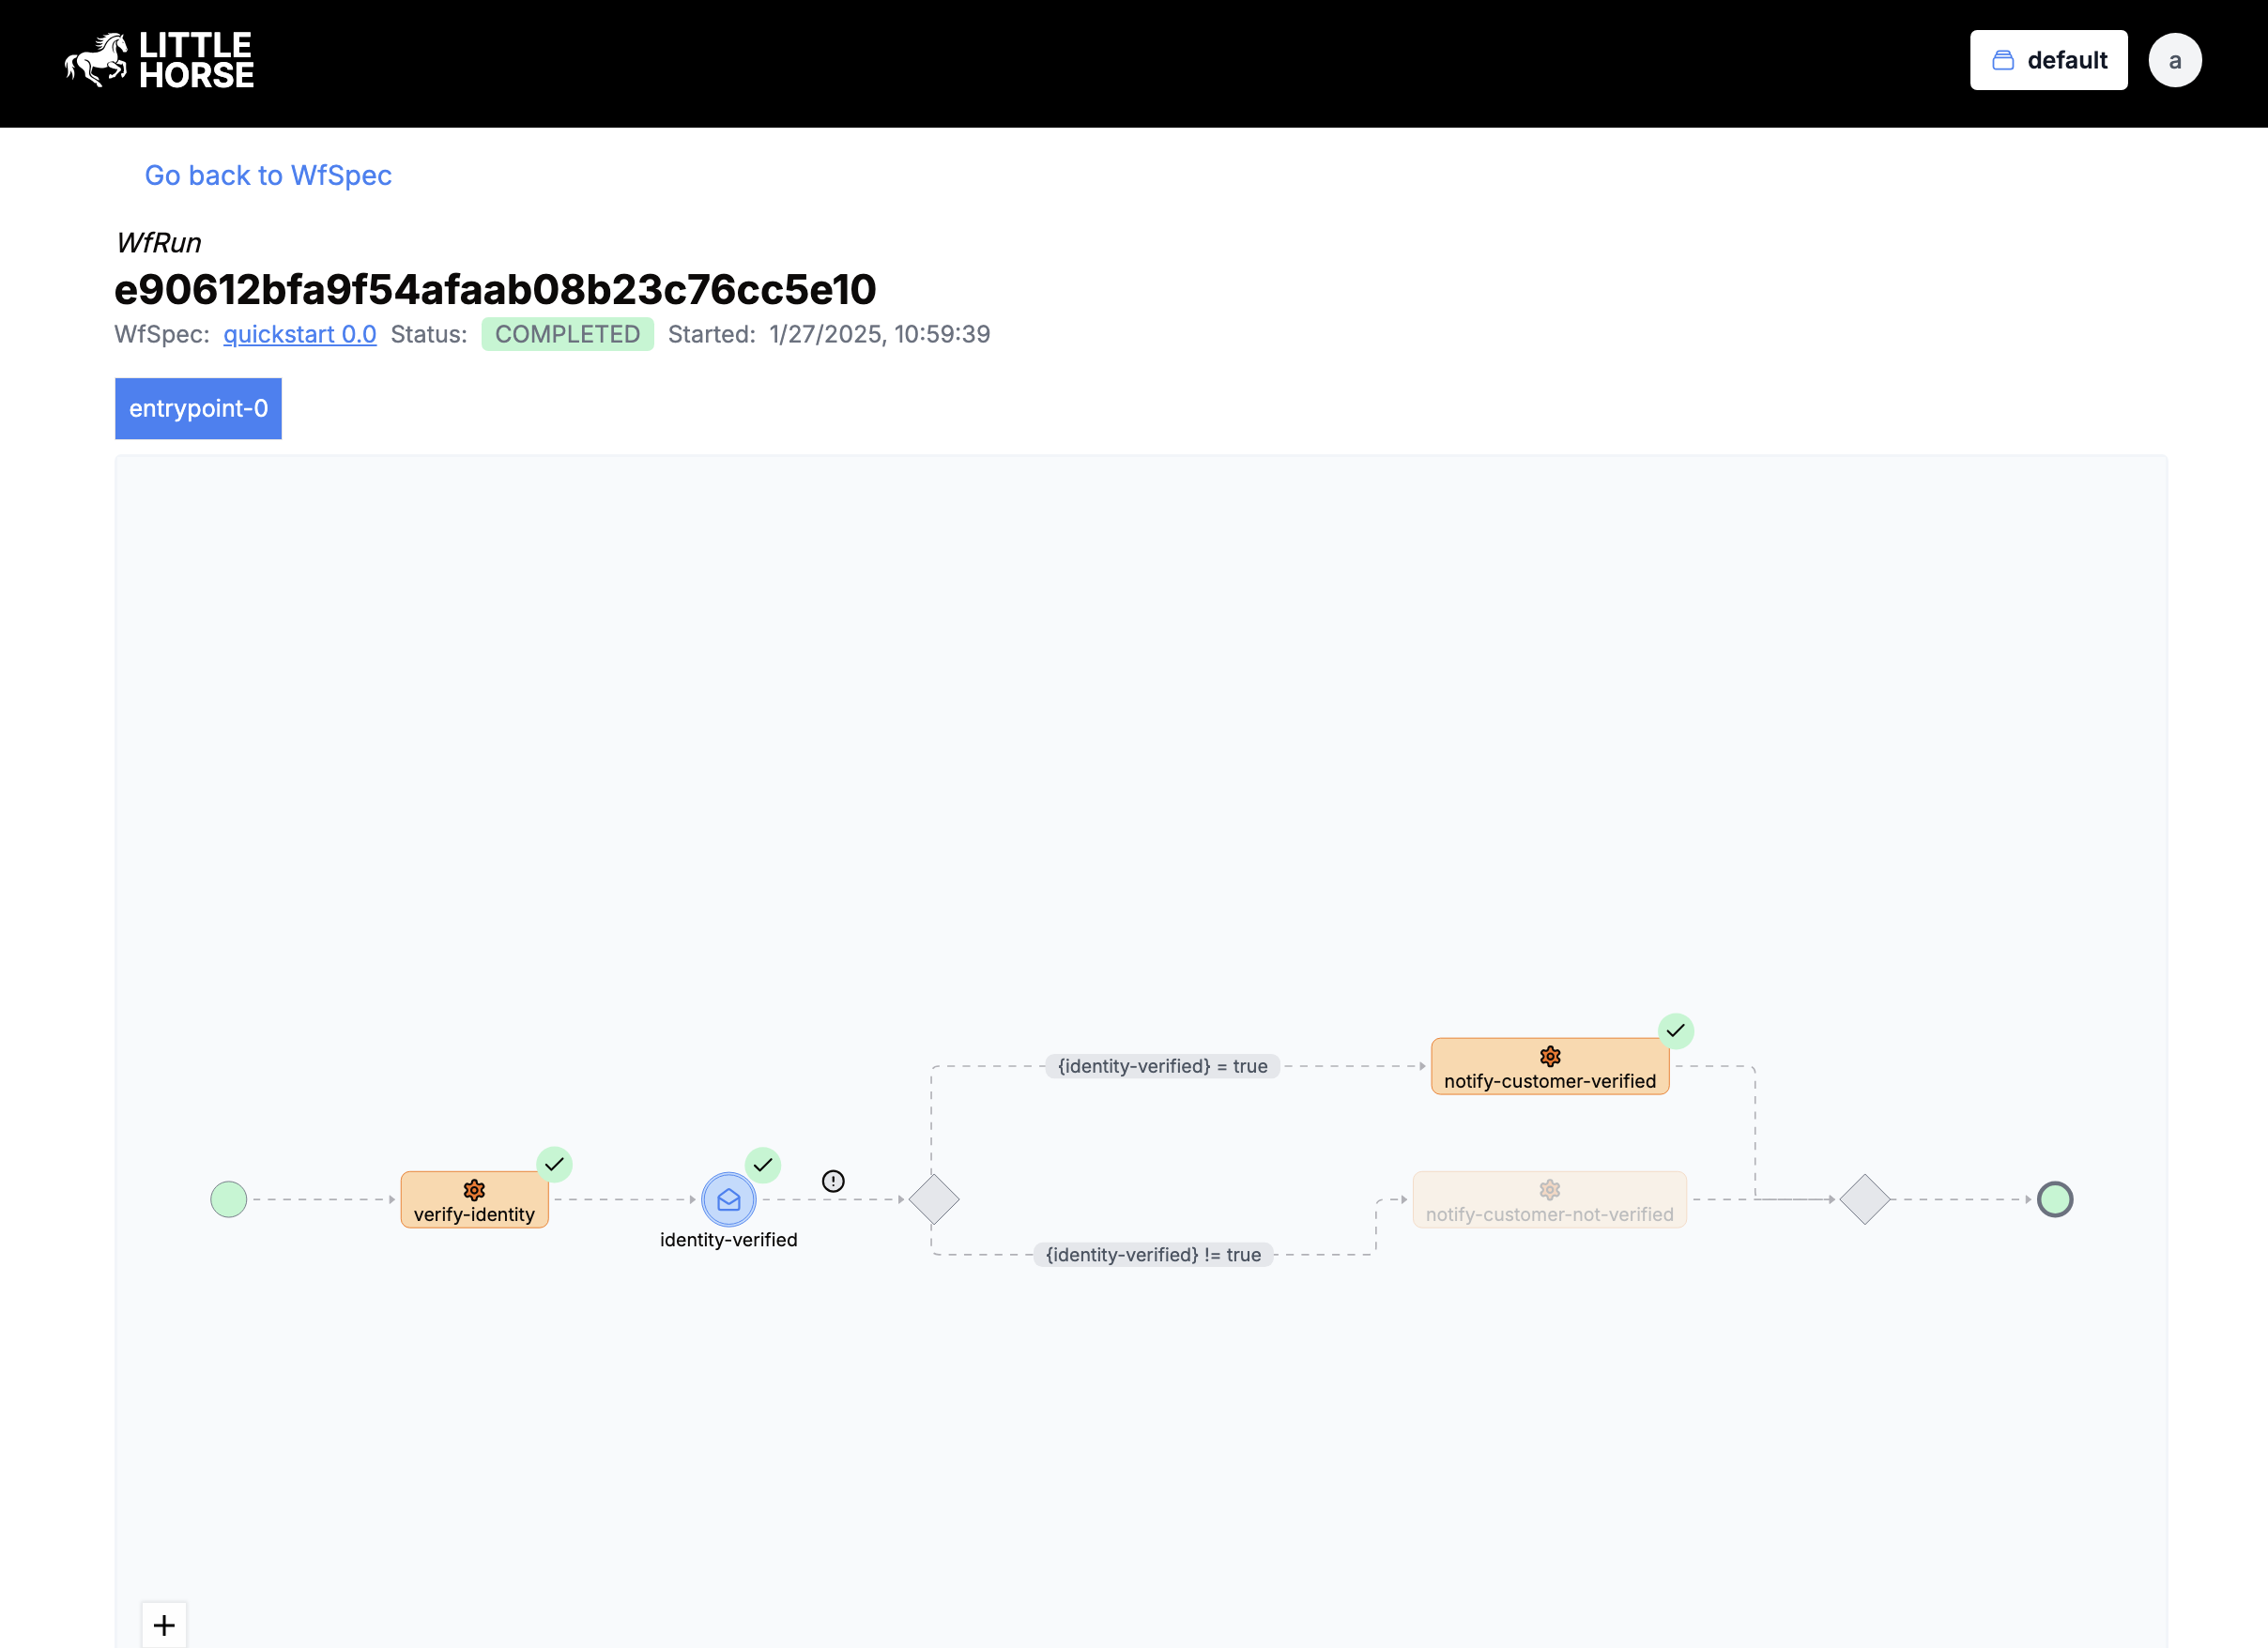
Now if we look at our WfRun again, you will see that the workflow has completed and Obi-Wan has been notified that their identity has been verified.

Wrapping Up
Congratulations on executing your first WfRun at LittleHorse! You've taken your first steps into a larger world. Continue on with the next courses to learn how to develop your own applications on top of LittleHorse.
In the meantime, if you haven't done so already:
- Join the LittleHorse Slack Community
- Give us a star on GitHub
- Check out our documentation